Bathroom wallpaper is making a serious comeback. Powder rooms and guest baths are great rooms to experiment with fun patterns, and wallpaper in primary bathrooms adds a charm that paint just can’t touch. Wallpaper can totally transform a space without the commitment of tile and grout.
Curious how to install bathroom wallpaper? In this guide, the wallpaper experts here at Funky Paper Co. will walk you through the steps to install wallpaper in the steamiest, splashiest room in your home without headaches or hassle.
Before you grab a squeegee... It's worth noting that wallpaper is not suitable for all bathrooms. Bathrooms come with extra humidity and moisture, so let’s start with a few non-negotiables.
Choose Moisture-Resistant Materials
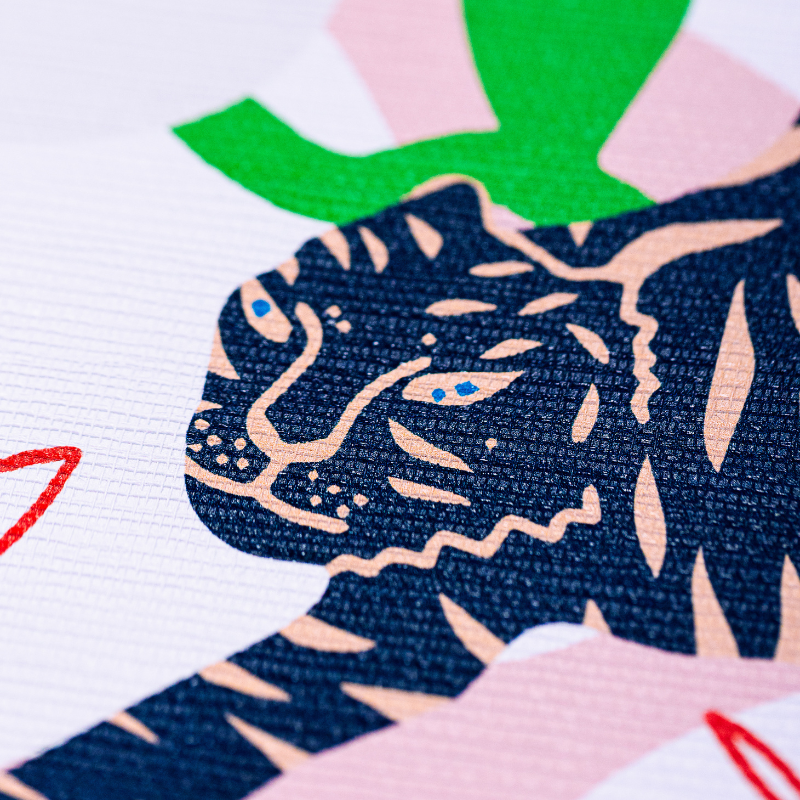
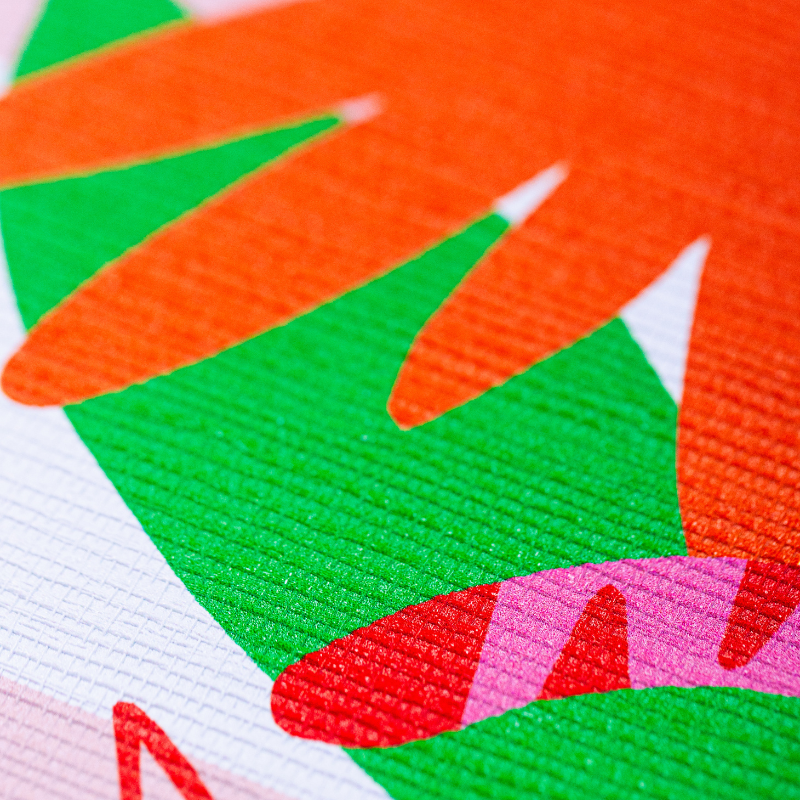
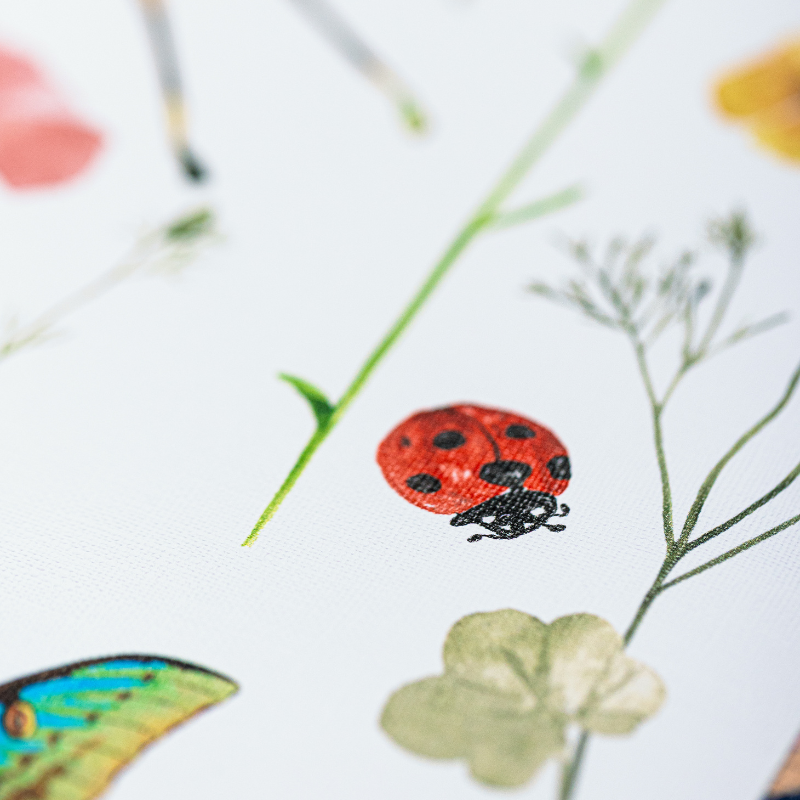
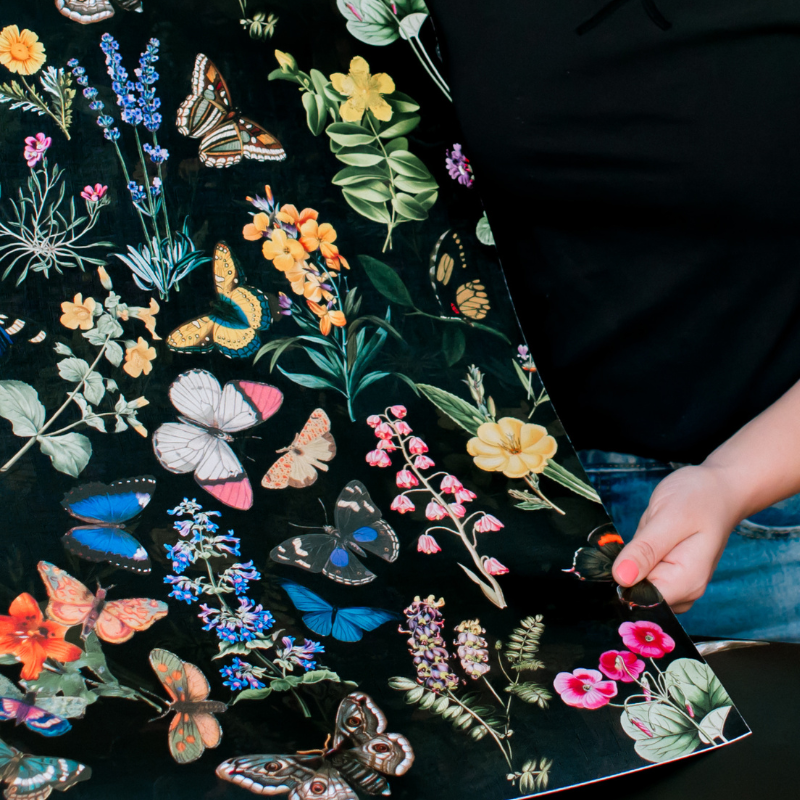
Bathrooms require wall treatments that can stand up to steam and splashes. In most cases, you can get away with peel-and-stick canvas wallpaper. This popular material is moisture-resistant and fairly durable. However, bathrooms that fog up with every shower may mess with the self-adhesive.
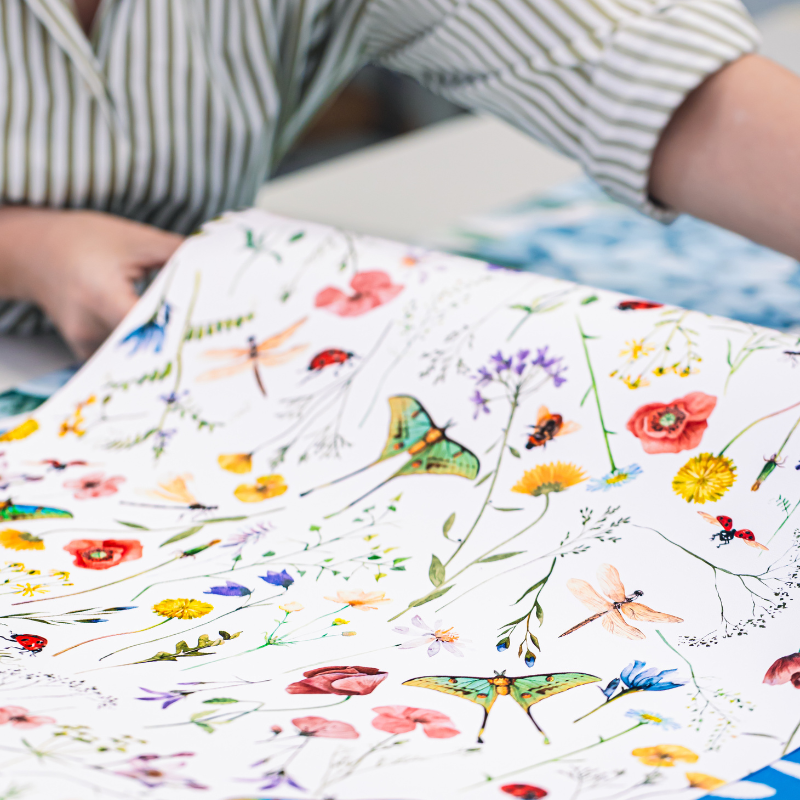
Traditional matte wallpaper (installed with paste) may be a better option for very steamy bathrooms or high-traffic areas as it’s most durable.
Make sure to skip delicate materials like grasscloth. While gorgeous in other parts of your home, they’re not cut out for high-humidity spaces.
Avoid High-Splash Zones
Steer clear of wallpapering directly behind showers, tubs or sinks unless you're certain the surface will be dry and splash-free.
Match Scale to Space
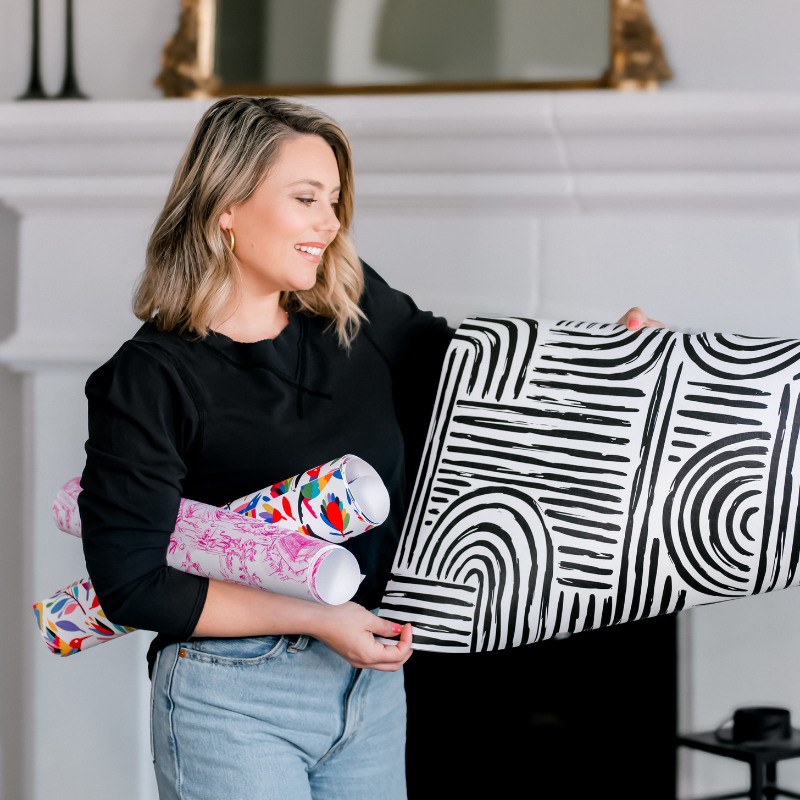
Small bathroom? Stick with a small print. If you’re working with a petite powder room or half bath, a good rule of thumb is to use designs with single-panel repeats. Large patterns can overwhelm tight quarters. Unless you're going for a bold, maximalist effect – which we fully support, too.
Watch Out for High-Gloss
Whether in the bathroom or elsewhere in your home, peel-and-stick canvas wallpaper should adhere to most flat surfaces. But some glossy paint finishes can be tricky. You can either sand down and coat the wall with primer, or use an extra adhesive like E-Z Hang if glossy walls give you any trouble.
If you have textured walls, please send us a note with details and we’ll be happy to help.
Now that that’s out of the way, let’s get to it! Here’s how to apply bathroom wallpaper like a pro.
Before anything touches the wall, make sure the surface is flat, dry and dust-free. Wipe down the wall with a damp cloth or paper towel and allow it to fully dry.
Before anything touches the wall, make sure the surface is flat, dry and dust-free. Wipe down the wall with a damp cloth or paper towel and allow it to fully dry.
Start by peeling 1-2 feet of the paper backing from the top of your first roll. This gives you a manageable amount to work with without wrangling the full length of the panel.
Start by peeling 1-2 feet of the paper backing from the top of your first roll. This gives you a manageable amount to work with without wrangling the full length of the panel.
Start at the top of your wall. Place the exposed backing in place, with at least 2-4 inches of the paper overlapping the top edge of the wall. (We’ll trim this at the end.) Use a level to make sure the panel is perfectly straight. If it’s a little off, no biggie. Just peel it up and try again
Start at the top of your wall. Place the exposed backing in place, with at least 2-4 inches of the paper overlapping the top edge of the wall. (We’ll trim this at the end.) Use a level to make sure the panel is perfectly straight. If it’s a little off, no biggie. Just peel it up and try again
Once the panel is straight, adhere a 4-6" section of the panel onto the wall.
Once the panel is straight, adhere a 4-6" section of the panel onto the wall.
Once your panel is in place, grab your squeegee. Gently smooth from the center of the panel out toward each edge to remove any air bubbles. Pro tip: Go gentle and slow. Too much pressure can scratch the print.
Once your panel is in place, grab your squeegee. Gently smooth from the center of the panel out toward each edge to remove any air bubbles. Pro tip: Go gentle and slow. Too much pressure can scratch the print.
Peel and fold down more paper backing and install the next 4-6" segment, smoothing from the center as before. Move down the wall in small segments until you reach the bottom of the panel.
Peel and fold down more paper backing and install the next 4-6" segment, smoothing from the center as before. Move down the wall in small segments until you reach the bottom of the panel.
Add the next panel directly next to the first panel. There is no overlap in our paper. The paper will sit right next to its neighboring panel.
Add the next panel directly next to the first panel. There is no overlap in our paper. The paper will sit right next to its neighboring panel.
Repeat this peel, stick and smooth process with the remaining wallpaper panels. Once you reach the end of a wall, simply use a sharp utility knife and a straight edge to cut the extra paper off the top, bottom and edges.
Repeat this peel, stick and smooth process with the remaining wallpaper panels. Once you reach the end of a wall, simply use a sharp utility knife and a straight edge to cut the extra paper off the top, bottom and edges.
Peel-and-stick wallpaper is pressure sensitive, meaning it needs a final press to really seal it to the wall. Once your panels are up, go back over each one with firm, even pressure using a squeegee (or even a credit card!). Pay extra attention to corners, ceiling lines and edges to make sure everything’s stuck down nice and tight.
Peel-and-stick wallpaper is pressure sensitive, meaning it needs a final press to really seal it to the wall. Once your panels are up, go back over each one with firm, even pressure using a squeegee (or even a credit card!). Pay extra attention to corners, ceiling lines and edges to make sure everything’s stuck down nice and tight.
Wallpapering a bathroom might sound intimidating. But with a little peel-and-stick magic it’s 100% doable even if you’ve never done it before. If you prefer to start small, you can test out the process by wallpapering the back of a cabinet door or other creative wallpaper ideas before tackling a bathroom wall.
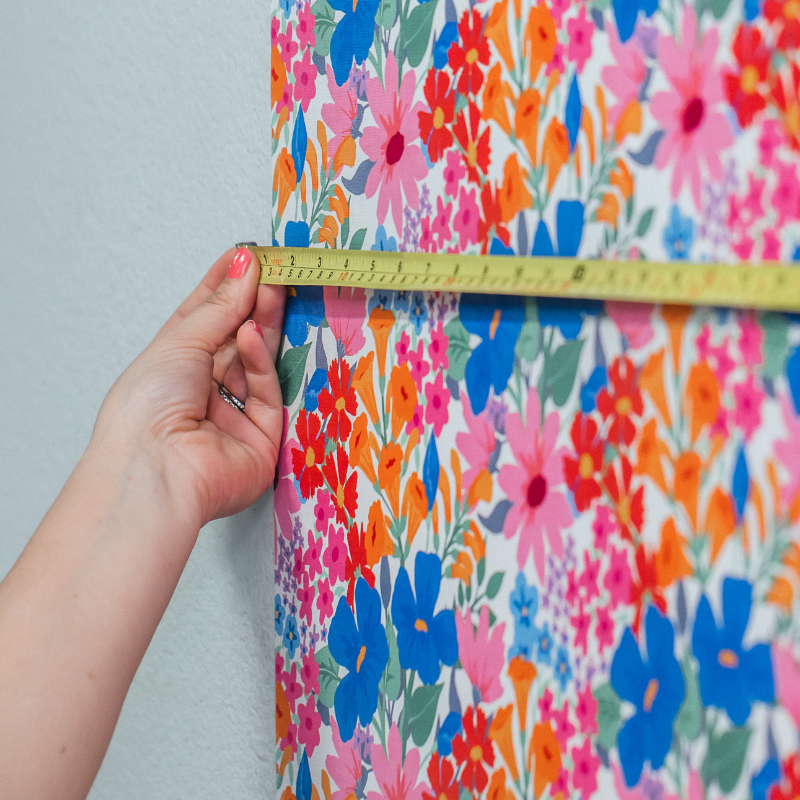
Curious about how to measure or remove peel-and-stick wallpaper? Check out our handy how-to section.
Caroline is the owner of Funky Paper Co. What began as a creative outlet is now a full-blown wallpaper wonderland specializing in patterns that are hand-drawn, high-quality and always a little bit funky.
Caroline is the owner of Funky Paper Co. What began as a creative outlet is now a full-blown wallpaper wonderland specializing in patterns that are hand-drawn, high-quality and always a little bit funky.
From faux grasscloth to statement ceilings, these are the wallpaper trends you'll see everywhere in 2026. (Plus, a few we can leave behind in 2025!)
Put a little prep in your step. Explore wallpaper that nail the country club aesthetic. Stripes, plaids and equestrian motifs with playful pops of pastel.
Drum roll, please… We’re counting down the 10 best-selling wallpaper patterns of the year. These are the prints that made a big statement in 2025.
